
Real Estate Photo Editing Presets: How to Keep a Listing Consistent
A preset should remove repetitive setup, not decide every image. Build a small system around lighting groups and reference frames.
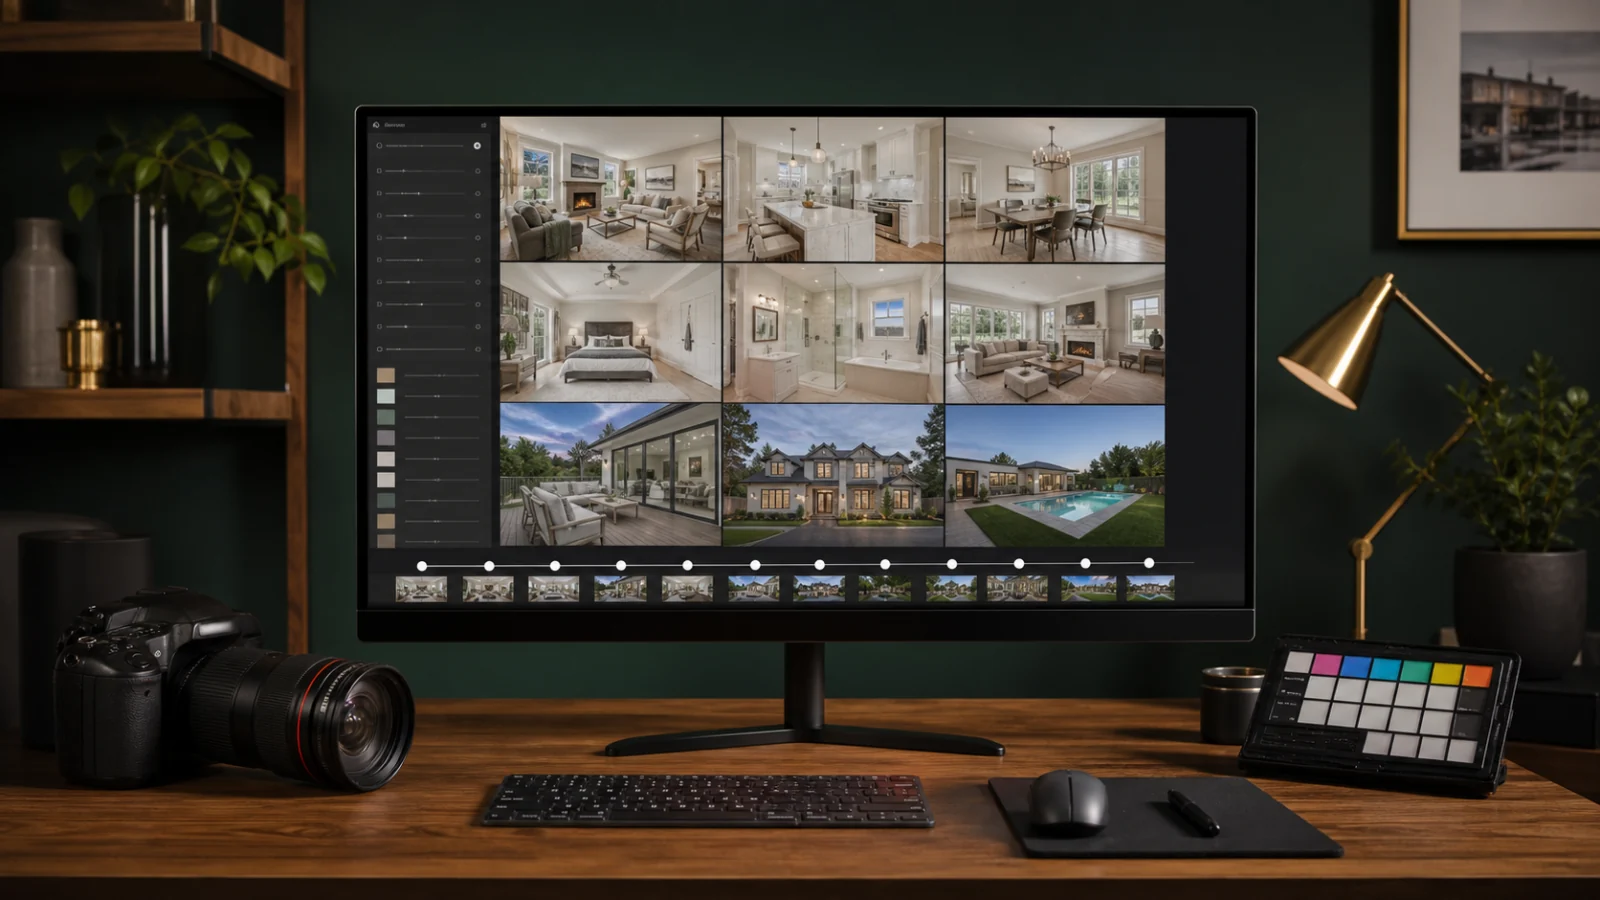
Real-estate presets work best as restrained starting points, not finished looks. Build a small set around camera profiles and lighting groups—daylight interior, mixed-light interior, dark room, day exterior, and twilight—then choose an approved reference frame for each job. Apply lens corrections, base contrast, moderate color, sharpening, and noise settings consistently, while leaving exposure, white balance, windows, local masks, and perspective open for image-specific review. A preset should reduce repetitive setup without forcing every property into the same color grade. Finish by reviewing the listing as a contact sheet and checking hero frames at full resolution.
What belongs in a preset
Good baseline candidates include:
- Camera or color profile.
- Lens corrections and chromatic aberration.
- A restrained tone curve.
- Moderate texture or clarity.
- Conservative sharpening and noise reduction.
- Base color controls.
- Export defaults when the application supports them separately.
Use caution with:
- Fixed exposure.
- Fixed white balance.
- Aggressive highlight or shadow settings.
- Local window masks.
- Geometry and crop.
- Heavy saturation.
- Sky replacement or generative edits.
Those controls depend heavily on the individual frame.
Build presets from representative work
Choose several completed, approved listings from your normal cameras and property types. Identify repeated settings that improve most frames without hiding problems. Do not build the system from one hero image.
Create a small family:
- Daylight interior baseline.
- Mixed-light interior baseline.
- Dark or wood-heavy interior baseline.
- Day exterior baseline.
- Twilight baseline.
Name by purpose and version rather than vague style. Record the profile and software version used.
Use reference frames
For each new listing, select a representative frame per lighting group. Apply the baseline, then correct that frame carefully. It becomes the visual reference for:
- Neutral balance.
- Contrast.
- Highlight and shadow density.
- Saturation.
- Window treatment.
- Sharpening.
Synchronize appropriate settings to related images, then inspect each one. The white-balance consistency guide explains why one temperature cannot serve every room.
Synchronize safely
Adobe Lightroom Classic can copy or synchronize selected develop settings. Select only what should travel. A daylight kitchen and adjacent living room may share profile, lens correction, tone curve, and initial color. Their exposure and window masks may differ.
After synchronization, inspect:
- White walls and ceilings.
- Shared wood and flooring.
- Bright windows.
- Lamps and mixed fixtures.
- Mirrors and reflective surfaces.
- Dark corners and noise.
Batch speed comes from a stable baseline plus exception handling, not from skipping review.
Avoid the preset look
Warning signs include:
- Every room is equally bright.
- Whites are gray and shadows have no depth.
- Wood becomes orange.
- Windows are uniformly blue and dark.
- Exterior greens are neon.
- Twilight skies are oversaturated.
- Sharpening halos appear on frames and railings.
Reduce the preset until it survives a varied set. The property should be recognizable before the style.
Version your presets
Software profiles, denoise, masking, and cameras change. Keep:
- Preset version.
- Creation date.
- Supported camera/profile.
- Sample reference exports.
- Notes on excluded controls.
- A short regression set.
When updating, process the same reference images with old and new versions. Do not silently change a high-volume workflow during a client delivery.
Combine presets with AI
AI can create an adaptive baseline where fixed preset values would fail. Presets can still define the target profile, contrast, and output character. In a hybrid workflow:
- AI proposes exposure, white balance, or masks.
- The preset establishes restrained house style.
- The reviewer checks the source and listing set.
- Exceptions receive manual correction.
Judge the result, not which layer acted first.
Create an exception lane
Do not keep increasing preset complexity to handle every difficult image. Route exceptions instead. Useful triggers include:
- Important clipped windows.
- Mixed or mismatched fixture colors.
- Mirrors and glass covering a large area.
- Very dark wood or painted rooms.
- Twilight and long-exposure noise.
- Strong flare.
- Large local cleanup or synthetic edits.
The standard preset remains stable for normal work, while the exception receives a deliberate correction. This is easier to maintain than dozens of hidden masks and conditions.
Test imports and exports
Preset portability can be affected by missing profiles, camera support, software versions, and AI masks. Install the preset in a clean test environment and confirm that it does not depend on local assets that another editor lacks.
Then verify the final delivery:
- Required pixel dimensions and compression.
- sRGB or the client’s specified profile.
- Correct sharpening for the output size.
- Stable file naming and order.
- No accidental metadata or location exposure.
A beautiful develop preset does not complete the publishing workflow if the exports are inconsistent.
Measure the preset’s value
Track time to accepted final, not time to first preview. Compare a small stable test set before and after the preset. Record how many frames pass with minor adjustments, how many need exception work, and which controls are repeatedly undone.
If editors remove the same saturation or shadow lift on most jobs, simplify the baseline. The best preset may be intentionally subtle because it leaves fewer artifacts to repair.
Assign one owner to approve shared preset changes. Untracked personal variants make cross-editor consistency impossible to diagnose.
Listing-level checklist
- ☐ The preset matches the camera and lighting group.
- ☐ Exposure and white balance were reviewed per frame.
- ☐ Shared materials remain consistent.
- ☐ Highlights and windows retain captured evidence.
- ☐ Shadows preserve depth.
- ☐ Local masks do not create halos.
- ☐ Exterior and twilight color remain natural.
- ☐ The set is reviewed as a contact sheet.
- ☐ Hero images are inspected at full resolution.
- ☐ Export size, profile, and naming are correct.
Use the batch editing guide to route normal and exception images through production.
Frequently asked questions
How many presets do I need?
Start with a few lighting-based baselines. Too many overlapping styles make selection and maintenance harder.
Should white balance be saved in a preset?
A rough baseline can be useful for controlled lighting, but it should remain adjustable and should not be copied blindly across rooms.
Can I buy a preset pack and use it unchanged?
Use it as a learning source, then test it on your camera, properties, and delivery requirements. Marketing images may not represent production performance.
Do presets replace batch QC?
No. They increase the need for contact-sheet review because the same mistake can spread across the set.
When should I update a preset?
Update after a camera, profile, software, or target-style change—and only after regression testing against stable sources.
Keep the look, adapt the correction
Use Curbora to create an adaptive first pass, then evaluate it against your approved listing baseline and export standard. Try the real estate photo editor.