
How to batch edit real estate photos without losing a consistent look
A practical batch editing workflow that groups similar photos, applies controlled shared settings, isolates exceptions, and keeps every final tied to its source.
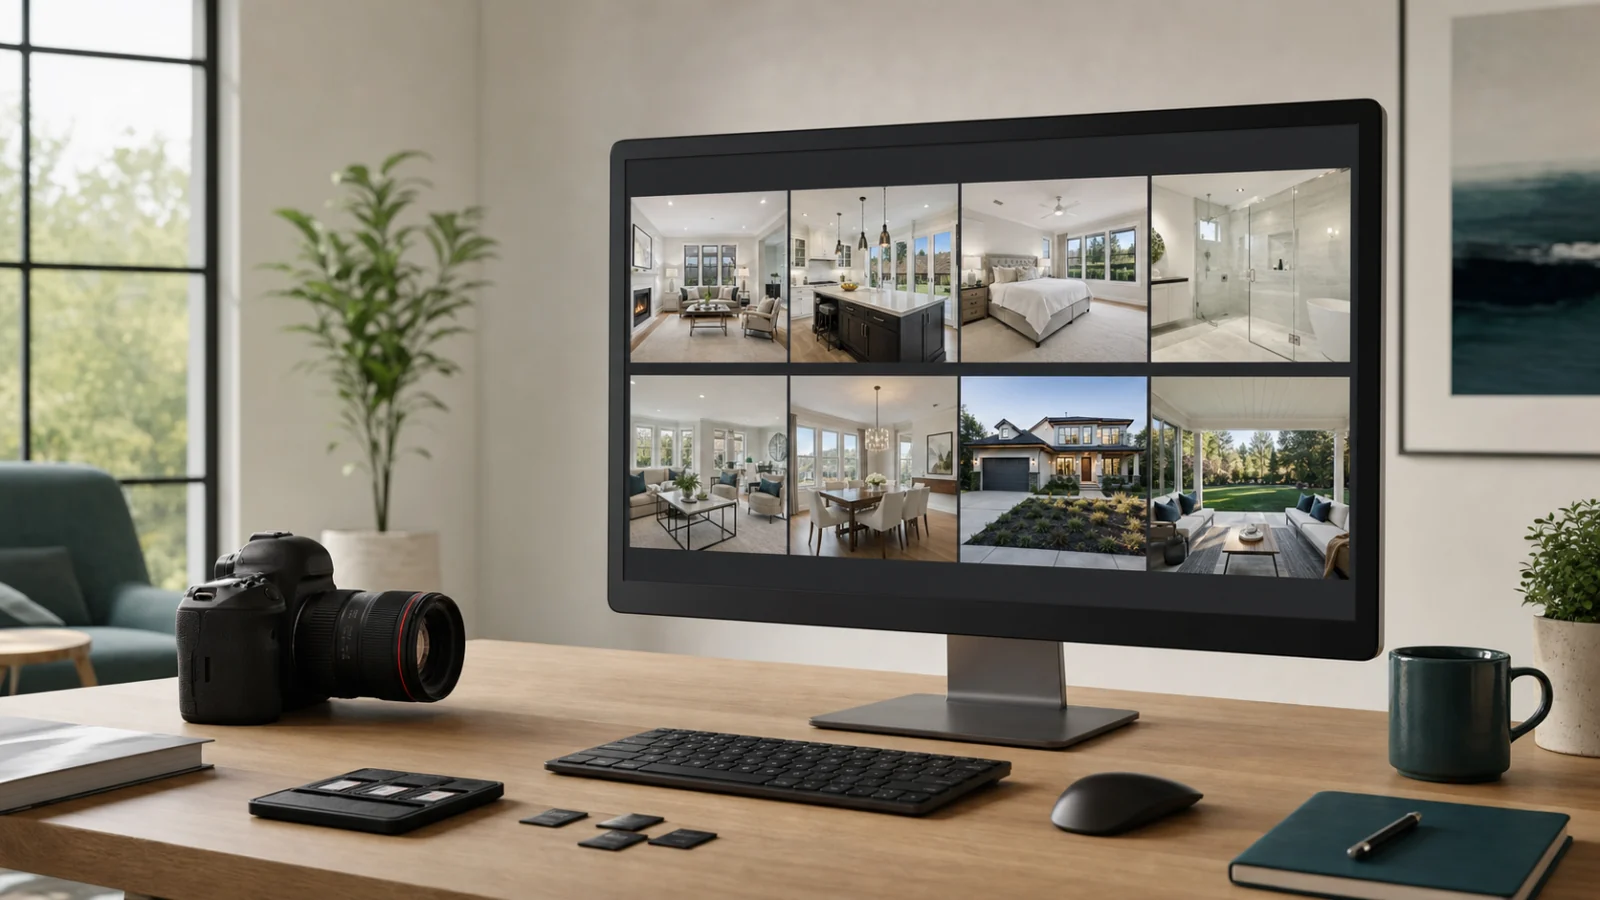
Before you use this guide: Batch editing speeds up repeated decisions; it does not make every room, exposure, or property identical. Keep the source files unchanged, inspect every selected final, and confirm the rules of the MLS, brokerage, and publishing destination before delivering altered listing images.
The short answer
To batch edit real estate photos consistently, organize each property as one project, divide the selects into visually similar groups, choose a representative reference image for each group, and synchronize only the settings that should truly match. Apply shared corrections for lens profile, baseline contrast, color treatment, and export rules; keep exposure, window recovery, local masks, perspective, object removal, and AI-generated changes under individual review. After the batch pass, inspect the gallery as a sequence and every final at full size. The goal is not to give thirty photos identical slider values. It is to make one listing feel coherent while letting each frame preserve its own light, geometry, and property facts.
That distinction solves the central problem with batch editing: speed comes from sharing repeatable decisions, while quality comes from isolating exceptions before they create style drift.
When batch editing is a good fit—and when it is not
Batch editing works best when a set of photos shares a capture method, camera profile, lighting family, and delivery target. A sequence of daylight interiors captured with the same lens and exposure strategy is a strong batch. So are several exterior angles photographed within a short time, or a group of independently prepared source images that all need the same restrained finishing treatment.
Do not force a batch across visibly different conditions. A tungsten bathroom, a blue-hour exterior, a bright kitchen with large windows, and a dark wood-paneled den may belong to one listing, but they do not belong to one correction group. A batch preset can be the starting point for all four; it should not be the final decision for all four.
Batching is usually appropriate for:
- camera and lens profile corrections;
- an initial tonal and color baseline for similar frames;
- metadata, copyright, and naming rules;
- destination-specific export settings;
- a controlled finishing look after individual edits;
- uploading, organizing, and assigning workflow status.
Keep these decisions photo-specific:
- final exposure and white balance in mixed light;
- highlight and window recovery;
- local masks, gradients, and retouching;
- vertical and horizontal corrections;
- virtual staging, decluttering, and day-to-dusk intent;
- approval of property facts and visible condition.
Start with a listing-level project, not one giant folder
The safest unit for batch intake is the property. Create a project with the property identifier, client, due time, expected image count, publishing destination, and required deliverables. Keep RAW captures and bracket sets in the source archive. If you merge brackets or build flambient composites, complete that upstream process before sending independent images into an AI enhancement batch.
This structure prevents two common mistakes: mixing adjacent shoots with similar filenames and losing the relationship between an original and its edited result. It also gives the reviewer the context needed to judge consistency. A bright Mediterranean interior should not be compared with last week’s dark industrial loft; it should be compared with the other rooms from the same home and the intended client style.
Use stable names early. A practical sequence might preserve the capture number while adding the property and room group, such as oak-street-014-kitchen. Do not let exports named final-2, final-new, and final-use-this become the production record. Status belongs in the workflow system, while the filename should remain predictable.
Build correction groups before touching a preset
Review the selects as thumbnails and divide them by conditions that affect editing. A typical listing might produce four groups:
1. daylight interiors with neutral finishes; 2. mixed-light interiors or dark rooms; 3. standard daytime exteriors; 4. specialty frames such as twilight, aerial, virtual staging, or decluttering.
Choose one representative frame from each ordinary group. It should have typical lighting and materials—not the easiest photo and not the worst exception. Correct that reference until the white balance, contrast, wall color, window brightness, and overall density are believable. Then compare it with a second frame from the group before synchronizing anything. If the second image immediately needs a different interpretation, the group is too broad.
Adobe Lightroom Classic can synchronize selected Develop settings across multiple images and can apply Auto Sync to a selection. The important control is the word selected: copy only the settings that are valid across the group. A synchronized transform, crop, local mask, or white-balance value can damage a frame even when the base tonal treatment is useful.
Use a two-layer batch recipe
A dependable recipe separates the technical baseline from the creative or client finish.
Layer 1: the technical baseline
This layer aims for a clean, neutral starting point. It can include the correct camera profile, lens corrections, chromatic-aberration removal, a restrained tone curve, baseline sharpening, and conservative noise treatment. These settings should improve file readiness without forcing the property toward a particular mood.
Avoid synchronizing aggressive highlight recovery or shadow lifting as a default. Two rooms captured minutes apart may have very different dynamic range. Heavy global recovery can flatten a softly lit bedroom and still fail to protect a kitchen window.
Layer 2: the listing finish
This layer defines the visual family: natural rather than gray, bright without clipping, warm without turning white walls yellow, and consistent across adjacent angles. Apply it only after each photo’s technical problems have been addressed. If the client has an approved style, use a known reference gallery instead of relying on memory.
An AI template can serve the same role: it establishes a starting intent for a group of independent images. It should produce candidates, not silently overwrite the sources or approve the entire batch. Review the results as a contact sheet to catch changes in wall color, exterior sky, brightness, or rendering style.
Prevent style drift with anchor images
Style drift is easiest to see when two adjacent angles disagree. Pick three anchors for the listing:
- one representative interior;
- one difficult interior with mixed light or a bright view;
- one exterior.
Keep those anchors visible during the edit and review. Compare white architectural elements, neutral fabrics, wood tones, exterior siding, grass, and sky across the gallery. The goal is not numerical equality. A north-facing bedroom may correctly appear cooler than a sunlit kitchen, but the same white trim should not jump from blue to cream without a lighting reason.
When an AI result changes the finish, furnishing, fixture, window division, vent, handle, reflection, or room geometry, reject it rather than trying to normalize it with another global pass. The AI real estate photo editing guide explains the boundary between photographic enhancement and edits that change property facts.
Follow an exception-first review
After the first batch pass, do not polish the easy frames again. Filter for exceptions:
- thumbnails that are much brighter, darker, warmer, or cooler than their neighbors;
- repeated rooms whose walls or floors change color between angles;
- windows with halos, substituted views, or crushed frames;
- bent cabinets, doorways, railings, and rooflines;
- local edits that spill onto furniture or exterior foliage;
- missing, duplicated, or incorrectly ordered photos.
Resolve these exceptions before finalizing the gallery. A strong batch workflow saves time because it directs attention to the few frames that require judgment, not because it removes judgment from the entire listing.
Use a three-state decision for AI candidates: ready, needs confirmation, or blocked. Ready means the image matches the source and the listing. Needs confirmation means the reviewer needs property, client, or policy context. Blocked means a property fact changed or the image failed visual quality review.
Review twice: gallery first, full resolution second
The first review is a gallery pass. Look at the sequence at thumbnail size and assess rhythm: brightness, white balance, crop, camera height, visual duplication, room coverage, and exterior-to-interior transition. This is where inconsistent treatment becomes obvious.
The second review is image-specific. Inspect every intended final at 100 percent. Check verticals, window frames, cabinet edges, mirrors, fixtures, railings, floor transitions, texture, reflections, rooflines, foliage, and visible numbers. Compare any AI-assisted or materially altered result directly with its source.
Community discussions among real estate photographers repeatedly mention small misses—window halos, leaning lines, masking errors, duplicate images, and inconsistent outsourced results—as the problems that escape a fast delivery. These are qualitative reports, not universal performance data, but they point to a useful operating rule: batch the production step; never batch the final approval.
Export by destination, not by habit
Define export presets from the destination requirements. Lightroom Classic lets you control format, quality, color space, pixel dimensions, resolution, metadata, filename, and output sharpening. Save reusable presets, but name them for a destination and verify them when the destination changes.
For web or an MLS, confirm the accepted format, long-edge or dimension limit, color space, file-size constraint, metadata policy, and filename sequence. For print, ask the printer or publication for pixel dimensions, profile, and resolution instead of assuming the web preset will work. Preserve a high-quality master separately from delivery derivatives.
Do not promise an automatic package for every MLS. Requirements vary and change. Record the intended destination in the project, then create the appropriate export with the current specification. If virtual staging, decluttering, or another digital alteration is involved, maintain the original-to-final pairing and any required label. The virtual staging disclosure guide provides a practical handoff method.
A 25-photo batch workflow
For a 25-photo listing, start by archiving the source files and selecting the deliverable compositions. Group twelve daylight interiors, five mixed-light interiors, five daytime exteriors, and three specialty edits. Correct one reference per ordinary group, synchronize only safe shared settings, and tune exceptions individually.
Generate or complete the three specialty edits separately. Review the whole 25-photo gallery for color and density, then inspect each selected final at full size. Confirm that the expected count matches the actual count, create the destination-specific export, and retain the master files plus original-final links.
This workflow is faster than applying one look to all 25 frames and repairing the damage later. It also produces a repeatable record: which group a photo belonged to, which treatment it received, who approved it, and what package was delivered.
Frequently asked questions
Should every room in a listing have the same white balance?
No. The gallery should feel coherent, but believable lighting differences should remain. Match neutral materials and the photographer’s intended style; do not force a fixed Kelvin value across daylight, tungsten, and mixed-light rooms.
Can I batch edit HDR bracket sets with an AI photo editor?
Not necessarily. A batch of independent source photos is different from multiple exposures that must be aligned and merged into one HDR image. Complete bracket merging or compositing in a supported RAW/HDR workflow first, then batch the resulting reviewable source images if the editor does not explicitly support bracket sets.
Which Lightroom settings are safest to synchronize?
Camera profile, lens corrections, restrained baseline tone, and a shared finish are often good candidates within a truly similar group. Exposure, white balance, transforms, crops, healing, and local masks require more caution because the correct value can vary frame by frame.
How do I know whether batch editing is actually saving time?
Track total time from intake to approved delivery, first-pass approval rate, revision count, redelivery count, and the time spent correcting drift. Faster generation with more review and rework is not a faster production workflow.
Make the next batch a controlled project
Use the Curbora real estate photo editor to keep independent source photos together, assign the right edit intent to each image, compare candidates with originals, and select reviewed finals without turning one batch action into blanket approval.
References
Sources and community discussions reviewed for this article. Reddit links represent individual practitioners’ experiences, not industry-wide benchmarks. Verify current software and destination requirements before publishing.
- Develop module options and synchronization — Adobe Lightroom Classic
- Export photos from Lightroom Classic — Adobe
- Digitally Altered Image Guidance and FAQs — CRMLS
- Most efficient HDR editing workflow — Reddit r/RealEstatePhotography
- Interior photo editing workflow and outsourcing — Reddit r/RealEstatePhotography
- AI editing consistency across property angles — Reddit r/RealEstatePhotography