
The real estate listing photo editing checklist: from source files to delivery
A reusable production checklist for moving listing photos from protected source files to reviewed, correctly packaged client deliverables.
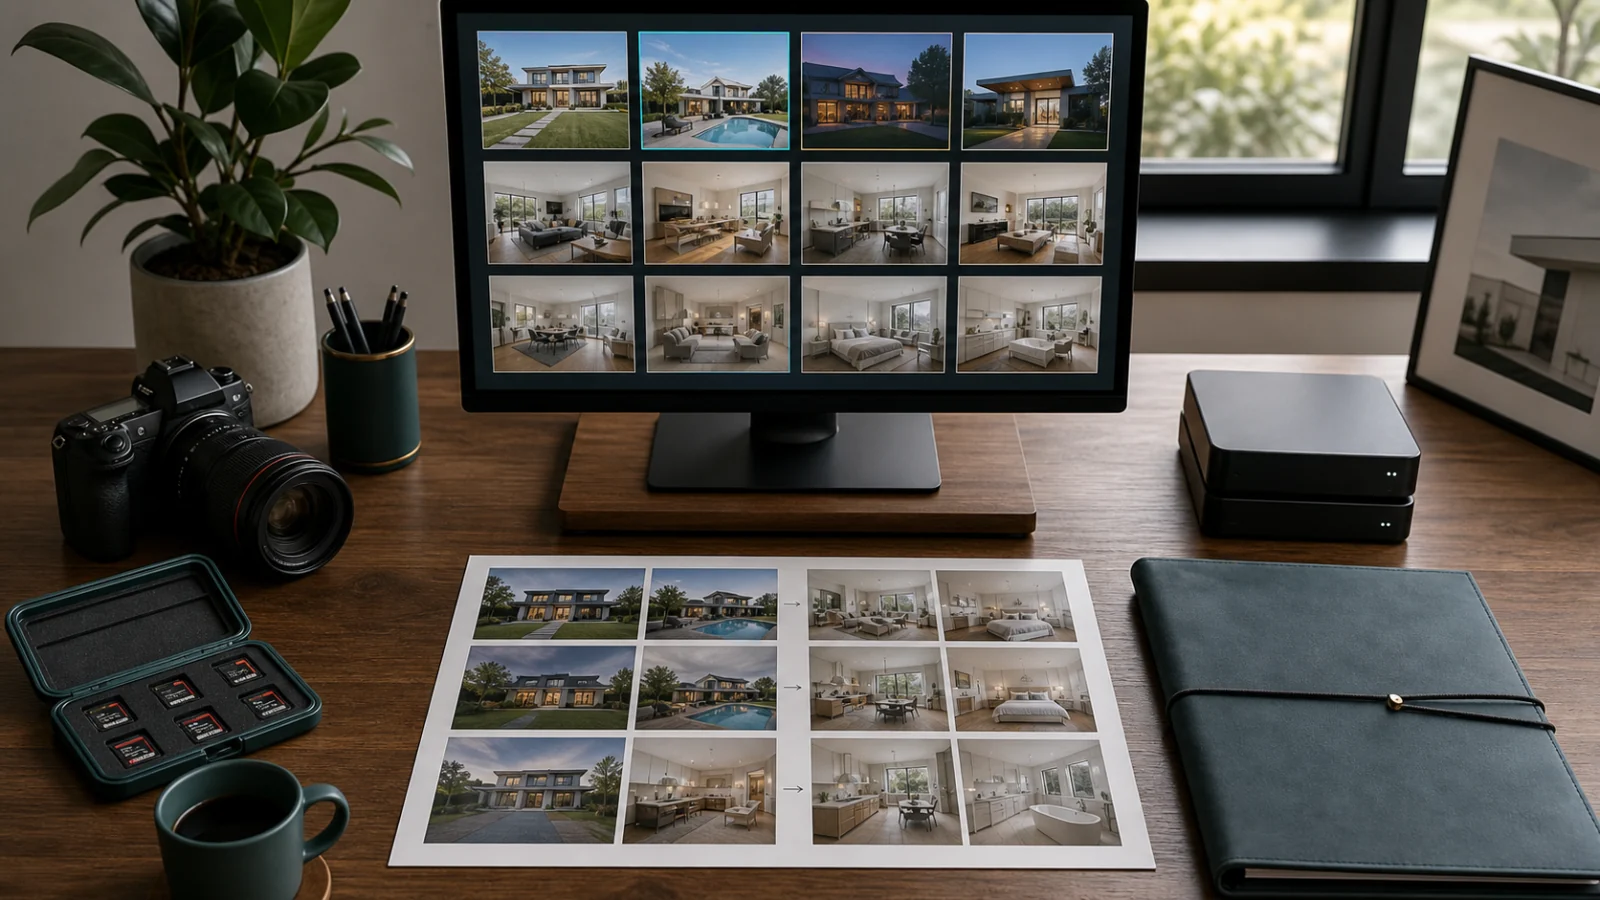
Before you use this checklist: Adapt the workflow to your capture method, client agreement, local MLS, brokerage policy, and delivery platform. Preserve camera originals, review every final, and confirm current requirements for altered images. The checklist does not replace destination-specific instructions or legal advice.
The short answer
A dependable real estate listing photo editing checklist begins before the first adjustment. Back up and separate the source files, confirm the order and destination, select technically usable frames, and classify the edit each photo needs. Keep ordinary enhancement apart from virtual staging, decluttering, day-to-dusk, and other alterations. Generate or edit without overwriting the source, review the gallery and each final, then export a package built for the client, MLS, web, or print destination. Before delivery, verify count, sequence, filenames, dimensions, color space, compression, disclosure labels, and original pairing. Archive the source-to-final relationship so a revision or compliance question can be answered without reconstructing the project.
The list below is designed to be copied into a project template and checked in order.
1. Define the delivery before editing
Record the property identifier, client, due time, expected photo count, destination, service level, and revision contact. Ask for the delivery specification instead of relying on a generic “MLS-ready” assumption. Different platforms can impose different format, dimension, file-size, caption, and sequencing rules.
Decide which outputs are actually required:
- Listing or MLS: Primary property gallery. Confirm format, dimensions or file-size limit, color space, naming, captions, and alteration rules.
- Web or social: Website, ads, and social posts. Confirm aspect ratio, crop-safe area, compression, metadata, and platform sharpening.
- Print or publication: Brochure, magazine, or signage. Confirm pixel dimensions, color profile, resolution, and bleed or crop requirements.
- Disclosure: Altered images and supporting evidence. Confirm the required label, original pairing, sequence, caption, and metadata.
- Archive or master: Revisions and recordkeeping. Confirm master format, source links, versions, and retention period.
Do not promise that one preset automatically satisfies every MLS or client. Name reusable presets for the destination and verify them when a policy changes.
Project setup
- ☐ Property, client, deadline, and reviewer are recorded.
- ☐ Expected image count and requested order are known.
- ☐ Publishing destinations and current specifications are confirmed.
- ☐ Altered-image and original-pairing requirements are recorded.
- ☐ The final approver and revision path are clear.
2. Protect and organize the source files
Copy the cards to property-specific storage and make a second verified copy before formatting media. Keep RAW captures, brackets, flash frames, drone files, and specialty assets in their original form. Separate different properties even when they were captured on the same day.
Use stable identifiers that survive export and help trace a final to its source. For brackets, panoramas, or flambient layers, keep the components together and complete unsupported merges in the appropriate workflow before uploading a reviewable image.
Source intake
- ☐ Cards were copied and backed up before reuse.
- ☐ Files are separated by property and capture type.
- ☐ RAW files and component exposures remain unchanged.
- ☐ Every selected source has a stable identifier.
- ☐ The source count and transfer integrity were checked.
3. Cull for composition and technical usability
Remove accidental duplicates, focus failures, severe motion blur, flash misfires, incomplete panoramas, and compositions that cannot serve the listing. Compare near-duplicates for camera height, verticals, room coverage, reflections, and distractions. Retain enough context to represent the home accurately.
Do not use editing as a substitute for a missing capture. When a critical room or view is absent, the correct action may be a recapture. Establish the gallery order while culling so the property reads as a coherent story.
Culling
- ☐ Focus, motion, exposure coverage, and composition were checked.
- ☐ Near-duplicates were reduced intentionally.
- ☐ Every promised room or feature is represented.
- ☐ Frames requiring recapture or specialist work are flagged.
- ☐ The preliminary gallery order is set.
4. Classify each edit before producing it
Assign one clear intent to every selected source. Ordinary enhancement may include restrained exposure, white balance, color, clarity, noise, lens, and perspective corrections. Material changes—such as virtual staging, furniture removal, significant object removal, or day-to-dusk generation—need their own workflow and stricter review.
What changed in the representation matters more than the name of the tool. CRMLS, for example, treats common photographic corrections differently from element-changing edits and currently requires labels and adjacent originals for covered digitally altered images.
Never treat disclosure as permission to falsify a property. Walls, doors, windows, finishes, fixtures, damage, utilities, views, and other material facts should remain accurate. Read the MLS photo compliance guide before building an altered-image package.
Edit classification
- ☐ Each photo has one defined edit intent.
- ☐ Standard corrections and material alterations are separated.
- ☐ Unsupported brackets, panoramas, or composites are routed correctly.
- ☐ Prohibited or ambiguous requests are blocked or sent for confirmation.
- ☐ Required originals and disclosure status are attached to altered edits.
5. Apply shared settings without hiding exceptions
Group visually similar images and correct a representative reference frame. Synchronize only the settings that apply to the full group. Camera profile, lens correction, metadata, a restrained baseline, and some finishing choices can often be shared; exposure, white balance, transforms, local masks, window recovery, and object removal deserve individual judgment.
Adobe Lightroom Classic can synchronize selected Develop settings and save export presets, but a preset is a starting instruction—not proof that every photo passes. With AI, keep the source immutable and review candidates for drift in color, brightness, sky, proportions, and style.
Production
- ☐ Similar photos are grouped by lighting and capture conditions.
- ☐ Shared settings are limited to genuinely shared decisions.
- ☐ Exceptions are tuned or generated separately.
- ☐ Sources, candidates, selected finals, and rejected results remain distinct.
- ☐ No batch operation has become automatic final approval.
6. Review the gallery and every selected final
Begin at thumbnail size. Check sequence, count, duplicate compositions, missing rooms, exposure rhythm, color continuity, crop consistency, and repeated angles. Compare the same room across the gallery for stable walls, floors, furniture, windows, and fixed features.
Then inspect every selected final at 100 percent. Check window and door frames, cabinets, railings, fixtures, mirrors, reflections, flooring transitions, foliage, rooflines, visible numbers, object-removal boundaries, and compression. Compare altered or AI-assisted images directly with their sources.
Record ready, needs confirmation, or blocked. A final is ready only when visual quality, property accuracy, and destination requirements all pass. See the 12-point before-and-after checklist for the detailed review.
Quality control
- ☐ The whole gallery passes sequence and consistency review.
- ☐ Every intended final was inspected at full size.
- ☐ Altered images were compared directly with their sources.
- ☐ Cross-angle consistency was checked.
- ☐ Each final has an explicit review state and reviewer.
7. Export the actual deliverables
Export from approved masters, not from an arbitrary download folder. Adobe Lightroom Classic allows control over file type, quality, color space, dimensions, resolution, output sharpening, metadata, watermark, and filename. Match those settings to the destination.
Web, print, and disclosure packages can require different formats, profiles, dimensions, labels, and sequences. Confirm the current requirement, then open the exported files—not only the masters—to check color, resizing, sharpening, and compression.
Export
- ☐ Only approved masters are included.
- ☐ Format, color space, size, resolution, and sharpening match the destination.
- ☐ Filenames and numbering follow the approved sequence.
- ☐ Metadata and watermark choices are intentional.
- ☐ The exported derivatives were opened and visually checked.
8. Run a preflight on the delivery folder
Count the files and compare them with the approved selections. Sort by filename and confirm that the order is correct. Search for duplicates, gaps, old revisions, temporary files, rejected candidates, and assets from another property.
For altered images, confirm the source, label, caption, and sequence. Preserve this relationship in your project even if the receiving platform stores it. Send a link with the property, count, package names, expiration date, and revision method.
Preflight and handoff
- ☐ Delivered count equals approved count.
- ☐ File order and package names are correct.
- ☐ Rejected candidates and stale revisions are absent.
- ☐ Altered images have the required labels and original pairing.
- ☐ The client receives a clear link, count, scope, and revision path.
9. Archive the evidence needed for revisions
Retain the source, approved master, delivered derivatives, source-to-final links, classification, review status, and delivery record. Categorize revisions: recurring color, masking, count, or disclosure problems should improve the next capture, template, or handoff rather than remain isolated fixes.
Archive and improvement
- ☐ Source, master, delivery, and version records are retained.
- ☐ Original-to-final relationships remain recoverable.
- ☐ Review notes and delivery time are recorded.
- ☐ Revision reasons are categorized.
- ☐ Recurring problems inform the next template or capture process.
Frequently asked questions
Do clients need the RAW files?
Not by default. Deliverables depend on the agreement. Preserve RAW files in your archive, but send the approved formats and masters that the client purchased. When an MLS or policy requires an original with an altered image, confirm what qualifies as the unaltered listing image for that workflow.
What export settings should I use for an MLS?
Use the current requirements of that specific MLS. Confirm accepted format, pixel dimensions, file-size limit, color space, naming, caption, and alteration rules. Do not rely on a universal preset.
Can I use one checklist for manual, outsourced, and AI edits?
Yes. The production step may change, but the controls remain: protect the source, define intent, review the final, preserve property facts, package correctly, and retain the source-to-final relationship.
Who should do the final quality check?
Assign a named reviewer. It can be the photographer, an editor, or a dedicated reviewer, but the approval should be independent from an automated generation step and should include both gallery-level and full-size inspection.
Put the checklist inside the project
Open Curbora to organize a property as one project, keep sources and candidates connected, and move only reviewed finals into the delivery workflow.
References
Sources and community discussions reviewed for this article. Reddit posts are individual experiences, not universal benchmarks. Verify current client, software, MLS, and jurisdiction requirements.
- Export photos from Lightroom Classic — Adobe
- Develop settings and synchronization — Adobe Lightroom Classic
- Digitally Altered Image Guidance and FAQs — CRMLS
- 2026 Code of Ethics and Standards of Practice — National Association of REALTORS
- Interior photo editing workflow and outsourcing — Reddit r/RealEstatePhotography
- Quality-control pass for scaling photographers — Reddit r/RealEstatePhotography
- Real estate photography workflow discussion — Reddit r/RealEstatePhotography