
Real estate photo editing before and after: a 12-point quality checklist
A source-to-final review checklist for catching visual defects, inconsistent edits, and changed property facts before listing photos reach a client or MLS.
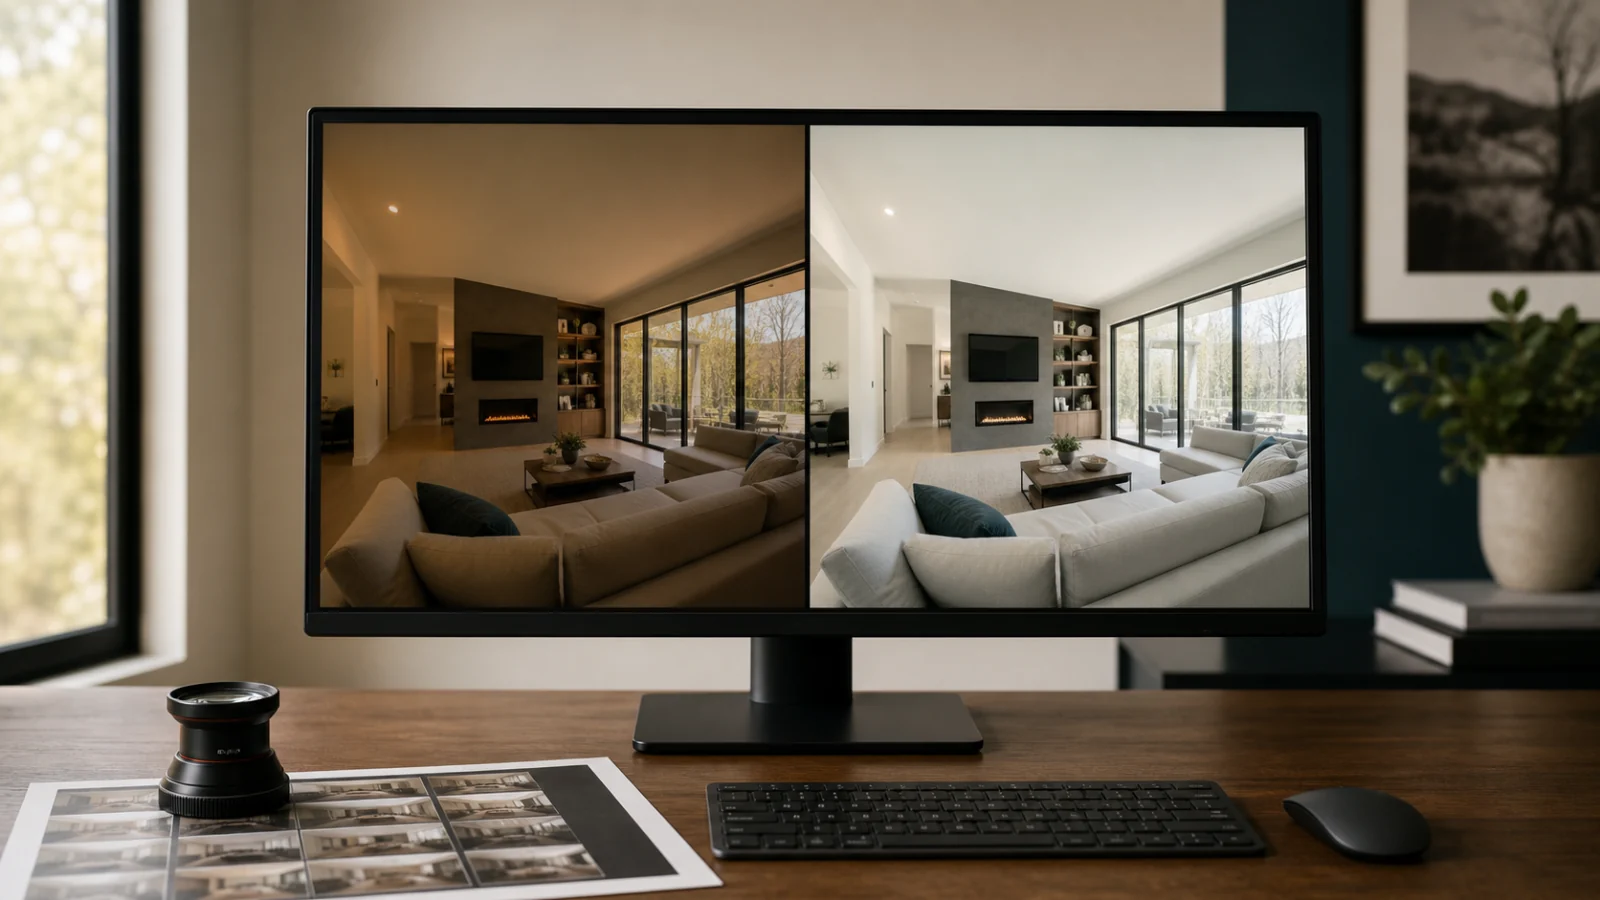
Before you use this checklist: A polished after image is not automatically an accurate listing image. Compare every final with its source, keep originals available, and apply the disclosure and pairing rules of the relevant MLS, brokerage, jurisdiction, and publishing destination. This is production guidance, not legal advice.
The short answer
A useful real estate photo before-and-after comparison asks two questions at the same time: did the edit make the photograph clearer, and did it keep the property truthful? Review the pair first at gallery size for consistent brightness, color, crop, and sequence. Then compare source and final at 100 percent for exposure, white balance, geometry, windows, fixed features, textures, reflections, retouching, AI artifacts, file integrity, and disclosure status. Approve only when the final improves presentation without changing what a buyer would reasonably believe about the home. If you cannot verify an altered detail, mark the image for confirmation instead of assuming the attractive result is correct.
The checklist below turns that judgment into twelve repeatable checks. It applies to manual edits, outsourced files, presets, and AI-generated candidates.
What a fair before-and-after comparison requires
Use the exact source associated with the final—not a similar angle or your memory of the room. View both at the same zoom and on the same display. This checklist evaluates whether a selected source became a credible deliverable; capture choice and missing coverage must be resolved earlier.
For a normal photographic correction, the after should preserve the same architecture, contents, condition, and context while improving readability. For virtual staging, decluttering, day-to-dusk, or another material alteration, some pixels intentionally change; the review must then verify the allowed intent, property facts, visual quality, and disclosure package.
Pass 1: inspect the gallery before individual pixels
Start with the full listing at thumbnail size. Look for jumps in exposure or color, repeated compositions, missing rooms, inconsistent crops, and a hero image that does not match the property. Compare adjacent angles; walls, floors, cabinets, and large furniture should remain recognizably consistent unless the light genuinely changes them.
The 12-point before-and-after checklist
1. Exposure and believable dynamic range
The final should reveal useful detail without making every surface equally bright. Check ceilings, lamps, window trim, white bedding, dark cabinets, and corners. Preserve the lighting hierarchy; a moody room does not need to resemble a white studio.
2. White balance and material color
Compare walls, ceilings, trim, counters, tile, and known white objects. Remove distracting casts while preserving believable light. Color correction must not become a renovation preview: if an edit redraws a finish, it fails even when the palette looks coherent.
3. Contrast, clarity, and natural texture
Check wood, stone, fabric, walls, foliage, and sky for crunchy edges, halos, plastic surfaces, or lost texture. AI artifacts often hide in repeated tile, carpet, cabinet panels, railings, and leaves.
4. Vertical lines, horizon, and perspective
Doors, walls, cabinets, window frames, and other vertical architectural lines should look intentional. Correct obvious camera lean, but do not stretch the room so far that furniture, doors, or floor proportions become unnatural. Check the horizon on exteriors and views.
Perspective correction is a photographic adjustment only while it preserves the property. Widening a narrow room, raising a ceiling, or changing the relationship between openings is not a harmless straightening operation.
5. Composition and crop
Compare what the after removes. A tighter crop can improve composition, but it can also hide a low ceiling, nearby structure, utility context, or condition. Check the requested ratio and avoid accidental cuts through door frames, furniture, rooflines, or fixtures.
6. Windows, views, and exterior context
Inspect window boundaries for halos, bad masks, warped mullions, mismatched reflections, and substituted views. Do not remove poles, wires, neighboring structures, roads, or relevant context simply because they are unattractive.
7. Fixed features and property facts
Check walls, windows, doors, stairs, railings, cabinets, counters, sinks, fireplaces, built-ins, lighting, vents, switches, flooring, appliances, pools, decks, landscaping, and visible damage. The after must preserve the fixed features and condition represented by the source.
AI systems can alter small details without a request. A missing vent, simplified railing, moved handle, smoother crack, or changed tile pattern may be easy to overlook. This is the most important source-to-final comparison because a visually plausible result can still be factually wrong.
8. Mirrors, reflections, glass, and screens
Zoom into mirrors, glossy cabinets, appliance doors, shower glass, and screens. Look for duplicated objects, impossible reflections, smeared edges, phantom lights, or staged furniture that does not appear correctly in a mirror.
9. Retouching and object removal boundaries
Inspect every removal at its edges and through the background it reveals. Rebuilt baseboards, flooring, counters, and foliage should have natural continuity. Repeating textures, soft patches, abrupt shadows, and cloned patterns expose rushed retouching.
Confirm that the removed item was actually allowed to disappear. A loose cable or photographer bag differs from a radiator, wall stain, utility line, permanent fixture, or included appliance. If the object’s status is unclear, stop and ask.
10. AI-generated artifacts and cross-angle consistency
Compare repeated rooms and repeated objects across all angles. Check furniture placement, scale, style, wall openings, fixtures, art, window divisions, and small hardware. One image may look photorealistic while contradicting another angle.
Do not assume that a strong prompt creates spatial consistency. Curbora and similar image-editing workflows produce reviewable candidates from individual sources; they do not turn unrelated camera angles into a guaranteed three-dimensional reconstruction. Use fewer altered views when consistent staging cannot be verified.
11. File, export, and sequence integrity
Confirm that the final opens correctly, has the expected dimensions, aspect ratio, format, color space, filename, and compression. Compare the delivered count with the approved count. Look for duplicate files, missing numbers, old revisions, and exports from the wrong property.
Review the actual delivery derivative, not only the high-quality master. Resizing, sharpening, compression, metadata removal, and color conversion can introduce problems after the creative edit is approved.
12. Disclosure, original pairing, and approval status
Classify the edit before delivery. An ordinary exposure or white-balance correction may be treated differently from an image that adds, removes, or changes an element. For material alterations, verify the destination’s current label, caption, watermark, sequencing, and original-pairing requirements.
CRMLS currently instructs users to label digitally altered images and place the original immediately before or after the altered image. That is a specific example, not a universal rule for every market. Preserve the source-to-final relationship regardless, and never assume a label can make a prohibited or misleading property change acceptable.
Record one of three outcomes
Every reviewed final should end in a clear state:
- Ready: visual quality passes, property facts are preserved, and delivery requirements are known.
- Needs confirmation: the image may be usable, but the reviewer needs property, client, or policy context.
- Blocked: a material fact changed, a visual defect remains, the wrong source was used, or the destination does not permit the edit.
Add a short reason when the status is not ready. “Confirm whether curtains remain,” “replace because window frame warped,” and “original must accompany staged final” are actionable. “Looks off” is not.
A fast review order for a 30-photo listing
For a 30-photo delivery, begin with a thumbnail pass, compare every altered image with its source, and inspect the remaining finals at full size. Finish with the actual export folder: count, order, names, dimensions, and package contents.
Community discussions from working photographers often identify leaning verticals, window halos, missed reflections, masking problems, duplicates, and inconsistent galleries as the small errors that reach clients during high-volume production. These reports are qualitative, but they support a practical conclusion: the final pass needs both whole-gallery context and image-by-image inspection.
Frequently asked questions
What is the biggest mistake in a real estate editing before-and-after review?
Judging only whether the after looks more attractive. The final must also preserve the property, visible condition, spatial relationships, and relevant context shown in the source.
Should I review listing photos at 100 percent?
Yes, for intended finals. Thumbnail review finds gallery inconsistency; full-size review finds masking defects, warped details, texture problems, bad reflections, and small AI changes. You need both views.
Can a virtually staged photo pass this checklist?
Yes, if the staging intent is allowed, fixed property features remain accurate, the result passes visual review, and the original, label, and delivery order follow the destination’s current requirements. See the virtual staging disclosure guide for the handoff process.
Does a disclosure label make any edit acceptable?
No. A label does not cure a false or prohibited representation. Some property changes should not be published even when they are disclosed. Verify the applicable policy and preserve the true source.
Compare candidates with the evidence beside them
Use the Curbora real estate photo editor to keep sources and candidates connected, review results side by side, and select a final only after it passes both visual quality and property-accuracy checks.
References
Sources and community discussions reviewed for this article. Reddit posts reflect individual workflows and concerns, not universal standards. Verify the current rules of every publishing destination.
- 2026 Code of Ethics and Standards of Practice — National Association of REALTORS
- Digitally Altered Image Guidance and FAQs — CRMLS
- Export files and image sizing — Adobe Lightroom Classic
- Quality-control pass for scaling photographers — Reddit r/RealEstatePhotography
- AI editing and multi-angle consistency discussion — Reddit r/RealEstatePhotography