
HDR Real Estate Photography Editing: Bracket Workflow, Window Recovery, and Final QC
Natural HDR starts before editing. Capture useful brackets, merge carefully, and review windows, color, movement, and property facts before delivery.
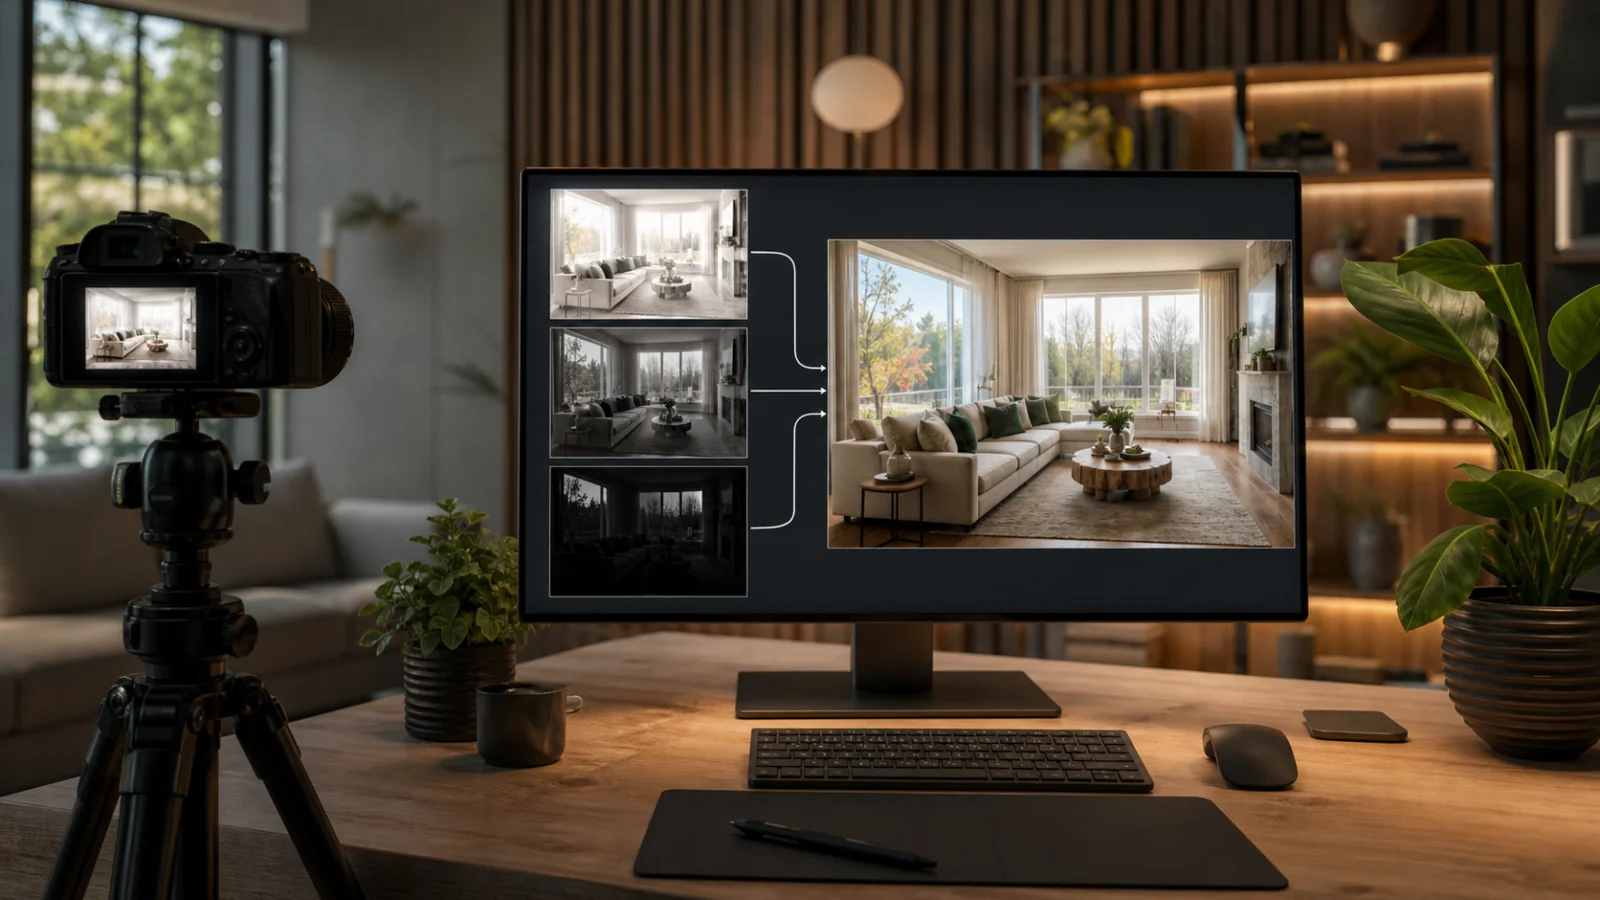
Natural HDR real-estate editing begins with aligned exposures that cover the scene’s real dynamic range. Use a stable camera, keep aperture, focus, white balance, and framing fixed, and vary shutter speed across the bracket. Merge the RAW files with alignment and only the deghosting required by movement. The merged file is a starting point, not a final look: set a believable exposure, control local contrast, neutralize color casts, and recover windows without hard pasted edges. Review moving foliage, curtains, fans, reflections, lamps, and fine frames at 100 percent. If the brackets do not contain a clean exterior or shadow region, do not let generative tools pretend they do.
Capture brackets with a purpose
The bracket should include:
- A middle exposure that describes the room.
- A darker exposure that protects windows and bright fixtures.
- A lighter exposure that records clean shadow information.
Some scenes need more range, but more frames are not automatically better. Extra exposures increase merge time and the chance of movement. Check the histogram and the actual window or shadow detail rather than using the same sequence for every room.
Keep:
- Aperture fixed so depth of field does not change.
- ISO low and consistent when practical.
- Focus locked.
- White balance fixed or consistently interpreted in RAW.
- Camera and tripod stationary.
- People, pets, fans, and curtains controlled where possible.
Merge before styling
Adobe Lightroom Classic can merge bracketed exposures, auto-align them, apply initial tone settings, and use deghosting for moving regions. It creates a DNG that preserves editing latitude. Those features solve assembly, not taste.
Evaluate the merge without dramatic preset contrast. Check:
- Window and door frames align.
- Moving leaves or curtains do not appear twice.
- Lamps and recessed lights retain clean boundaries.
- Reflective surfaces do not contain fragmented exposures.
- Noise and color remain consistent across blended areas.
Use the lowest effective deghosting setting. Aggressive deghosting can replace a region with one source exposure and create brightness or noise discontinuities.
Build a natural tonal hierarchy
HDR gets its artificial reputation from removing every shadow and compressing every highlight. A room still needs depth.
Set the main exposure, then:
- Protect white walls, ceilings, cabinets, and lamps.
- Lift only shadows that contain useful detail.
- Keep undersides and corners darker than directly lit surfaces.
- Use local corrections for windows and fixtures rather than flattening the whole frame.
- Add restrained contrast after the dynamic range is under control.
The brightest object in an interior may legitimately be the window. It does not need to match the sofa.
Recover windows without creating stickers
A window blend should retain frame detail and respect interior light. Common failures are dark outlines, bright halos, overly saturated scenery, and an exterior that is much sharper than the room.
Inspect:
- Frame and mullion edges.
- Curtains, plants, and furniture crossing the window.
- Glass reflections.
- Outdoor scale and color temperature.
- Consistency with other images facing the same direction.
If a bracket records the outside but not the transition around a curtain, use a softer localized blend. Do not paste a rectangle over the glass.
Control mixed color
HDR merge can expose color casts that were hidden in dark regions. Daylight, warm fixtures, green foliage, and colored surfaces may all influence the room.
Start with a plausible global balance, then correct local casts while preserving real material color. Avoid making every bulb neutral or every window blue. Review the entire listing as a contact sheet so one room does not become much cooler than its neighbors.
Where an AI editor fits
An AI photo editor can help normalize exposure, white balance, contrast, and window regions after a valid source exists. Curbora processes independent source images; it is not a RAW bracket-merging engine. Merge and align the brackets in a purpose-built RAW workflow first, then use enhancement tools on the selected merged frame if appropriate.
That distinction prevents a common mistake: calling any brightened JPEG “HDR.” A single-file enhancement may be useful, but it cannot recover missing bracket data.
Keep the capture groups intact
Rename or stack brackets so one room’s exposures cannot be mixed with the next. A practical sequence includes property or job ID, room or frame number, and exposure order. Reject incomplete groups before editing.
When batching:
- Merge and inspect one representative bright-window frame first.
- Establish the natural tonal target.
- Apply compatible settings to similar merged frames.
- Keep movement-heavy and mixed-light images in an exception queue.
- Export only approved merges, not individual brackets.
This prevents a technically successful merge from bypassing listing-level consistency.
Avoid common HDR shortcuts
Do not use strong clarity, texture, or local contrast to make every surface equally detailed. Avoid aggressive shadow lifting followed by heavy noise reduction, which creates plastic walls and smeared foliage. Do not darken every window to the same value.
If a room cannot be made natural without extreme settings, revisit the source group. A missing dark bracket, camera movement, or clipped fixture is a capture limitation, not a reason to invent data.
Retain the bracket group and merged DNG according to the project archive policy. A flattened JPEG alone cannot support later window, color, or disclosure review.
Final QC checklist
- ☐ All brackets share framing, focus, aperture, and compatible white balance.
- ☐ The merge has no double edges or movement ghosts.
- ☐ Deghosting did not create tonal seams.
- ☐ Windows retain natural frames, reflections, and transitions.
- ☐ Highlights keep texture where captured.
- ☐ Shadows have depth and manageable noise.
- ☐ Whites are believable and wood retains color.
- ☐ Fixed features and visible condition remain unchanged.
- ☐ The set is consistent across rooms.
- ☐ Exports use the required size, profile, and naming.
The batch editing workflow can help after the hero frames are approved, and the listing photo delivery checklist covers final packaging.
Frequently asked questions
How many brackets do I need?
Use enough exposures to hold important highlights and clean shadows. Three may be sufficient for moderate scenes; wider ranges may need more. Inspect the histogram and scene, not a fixed recipe.
Should I use maximum deghosting?
Only when necessary. Strong deghosting can create seams or select one exposure for a large region. Prevent movement during capture and use the lowest effective setting.
Is an HDR display file the same as an HDR merge?
No. An HDR merge combines exposures into a high-latitude file. HDR display/output refers to presenting extended brightness on compatible screens and formats.
Why do my windows look pasted in?
The exterior may be too dark, saturated, sharp, or hard-edged relative to the room. Revisit the mask, transition, and global tonal hierarchy.
Finish the merge with listing-level consistency
After creating a valid HDR source, use a controlled enhancement pass and full-resolution QC before delivery. Try the real estate photo editor.