
AI Photo Enhancement for Real Estate: Exposure, White Balance, and Window Recovery
Good enhancement is controlled correction, not a dramatic filter. Build a natural baseline, inspect difficult regions, and keep the property consistent.
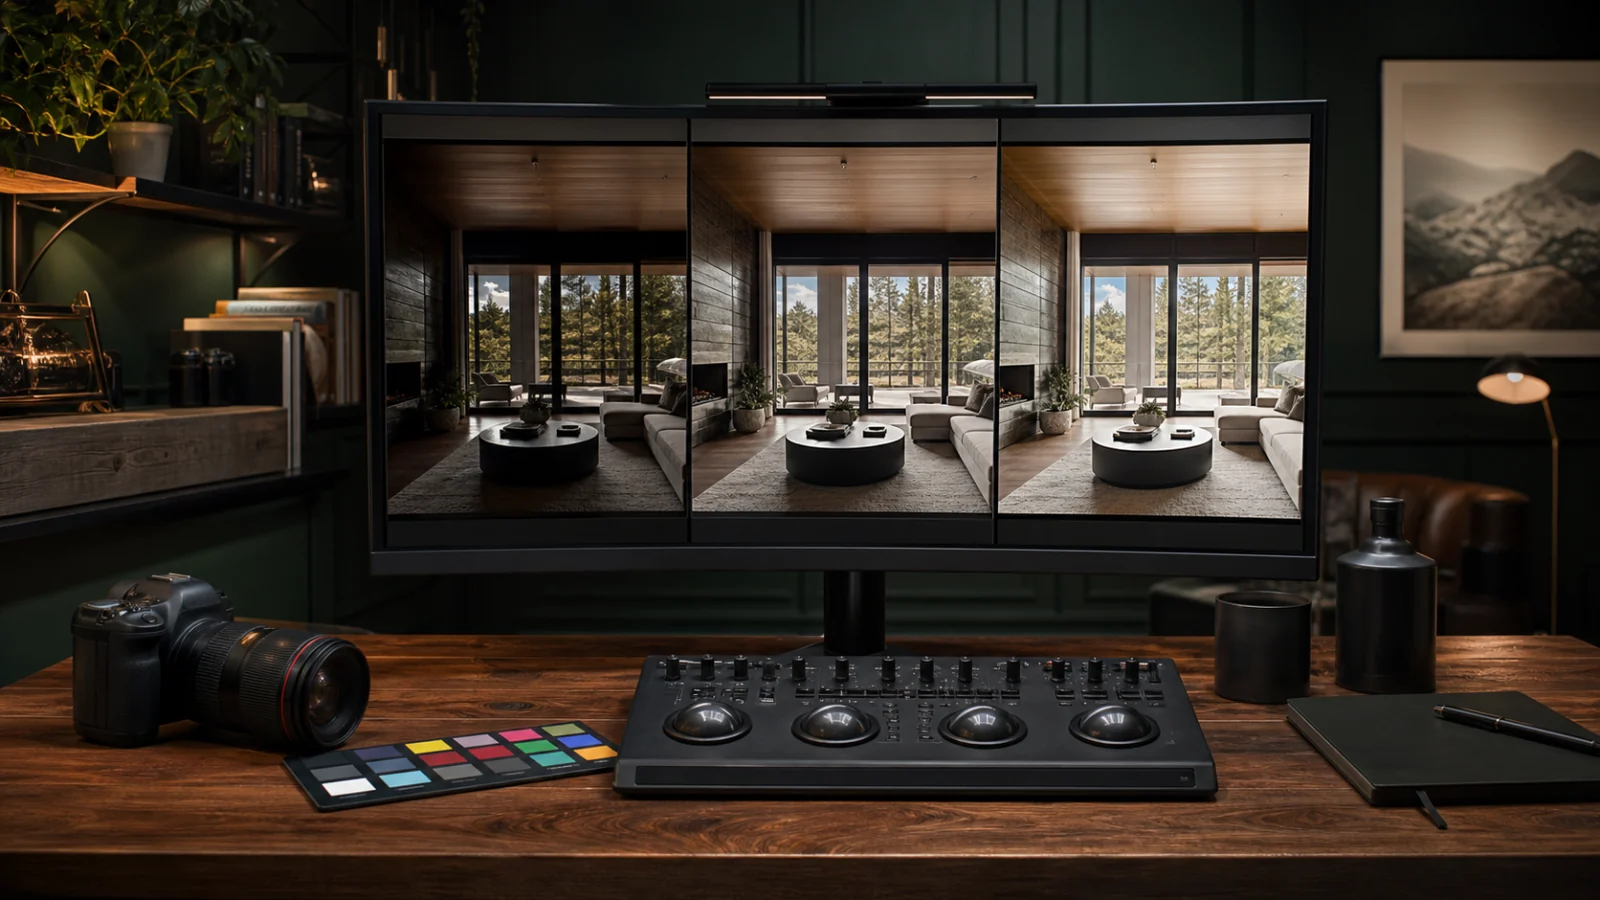
AI photo enhancement is most useful as a consistent first pass: normalize exposure, reduce obvious color casts, recover available highlight and shadow detail, and prepare a listing for human review. It should not invent a window view, merge missing RAW brackets, redesign a room, or force every surface to the same brightness. Start from the best available source, establish neutral anchors, then inspect windows, mixed lighting, mirrors, white walls, wood, and fine edges at full resolution. Apply similar settings across related rooms without copying them blindly. The accepted result should look like the property under competent photography—not like a filter applied to prove the software did something.
Exposure: protect shape, not just brightness
Real-estate interiors contain a wide tonal range. A global lift may make a dark room readable while washing out lamps, windows, white cabinets, and ceiling texture. A better enhancement preserves hierarchy:
- Windows and fixtures can be bright without becoming empty white shapes.
- Corners retain separation without looking gray and flat.
- White materials hold texture.
- Dark furniture remains dark enough to communicate material.
- Exterior views are visible only when the source contains usable detail.
Judge exposure at the final delivery size and at 100 percent. A small thumbnail can hide clipped highlights and noisy shadows.
White balance: find reliable anchors
Automatic white balance can be confused by warm bulbs, green landscaping through windows, colored walls, and reflective floors. Look for several likely neutral references rather than trusting a single pixel:
- White or gray trim in indirect light.
- Ceiling areas away from colored light.
- Known neutral appliances or fixtures.
- A photographed color target when available.
Do not neutralize all warmth. Wood, incandescent fixtures, and late-day sunlight should retain character. The objective is believable material color and consistency across the listing.
Window recovery: reveal only captured information
Window recovery can mean several things: lowering highlights in one RAW file, blending bracketed exposures, using a flash/window-pull frame, or masking a manually prepared view. These workflows are not interchangeable.
An AI enhancer working on a single exported image can recover tonal detail that remains in that file. It cannot guarantee the exterior from an overexposed white region. If a tool generates trees or buildings in a clipped window, the result is synthetic, not recovery.
Inspect:
- Mullions and frame edges.
- Halos around curtains and plants.
- Outdoor perspective and season.
- Reflections on glass.
- Color temperature between interior and exterior.
- Consistency across other angles.
Use listing-level consistency
Enhancing each photo independently can produce a bright kitchen, a blue bedroom, a yellow hallway, and a gray exterior. Review the set as a contact sheet.
Create a reference frame for each lighting group:
- Daylight interiors.
- Mixed-light interiors.
- Dark specialty rooms.
- Day exteriors.
- Twilight or dusk images.
Match overall neutral balance, contrast, shadow density, and saturation within the group, then adjust each frame for its actual light. Consistency is a target, not identical settings.
Where AI needs manual review
Slow down for:
- Mixed LED and daylight.
- Mirrors and glass.
- White kitchens with reflective counters.
- Strong window flare.
- Dark wood interiors.
- Fine railings and foliage.
- Rooms photographed at different times.
- Compressed phone or MLS downloads.
These are also good images for evaluating a service. A tool that looks impressive on one evenly lit bedroom may fail on the production set.
Separate adaptive correction from generative change
An adaptive mask can identify a window, wall, or sky and adjust captured pixels. A generative model may synthesize content. Both can be called “AI enhancement,” but their representation risk differs.
Write the allowed scope before processing:
- Tonal and color correction from captured information.
- Noise reduction and sharpening that preserve material detail.
- Lens and perspective correction that do not distort room proportions.
- Explicitly approved synthetic tasks handled as separate versions.
If a normal enhancement unexpectedly changes furniture, fixtures, landscaping, or a view, reject it. Do not let an automated pipeline hide a material change inside an otherwise routine correction.
Create exception thresholds
Route an image to manual review when:
- Important highlights are clipped in the source.
- Shadow lifting reveals severe noise or banding.
- White balance confidence is low because no neutral anchor exists.
- A window or mirror occupies a large part of the frame.
- Local masks touch fine property edges.
- The tool reports an error or returns a result unlike neighboring frames.
Thresholds make review scalable. The team does not need to distrust every correction equally; it needs a reliable way to recognize high-risk frames.
Compare on a calibrated-enough display
Perfect color management is not always available, but avoid approving finals on a phone with adaptive color, maximum brightness, or a heavily tinted display. Use a consistent monitor, normal room light, and the actual exported file. Check a phone only as a secondary listing-view preview.
Keep one accepted listing as a regression reference. After a model or preset update, reprocess several sources and compare exposure, color, windows, fine detail, and property fidelity. Improvements should survive the same test rather than being inferred from a new marketing sample.
A practical enhancement checklist
- ☐ The best available source is used.
- ☐ Highlights retain texture where the source contains it.
- ☐ Shadows are readable without excessive noise or gray flattening.
- ☐ Whites are neutral enough while natural warmth remains.
- ☐ Window detail comes from captured evidence.
- ☐ Frames, curtains, plants, and reflections are artifact-free.
- ☐ Fixed property features and visible condition are unchanged.
- ☐ Related rooms form a coherent set.
- ☐ The final is reviewed at full resolution.
See what AI real estate photo editing can and should never change for representation boundaries, and use the 12-point before-and-after checklist before delivery.
Frequently asked questions
Can AI enhancement replace HDR brackets?
It can improve a single source, but it cannot reproduce highlight or shadow information that was never captured. A true HDR merge uses multiple exposures.
Should every window show the exterior?
No. Some windows are naturally bright or reflective. Forcing a crisp view into every opening can look artificial and may invent information.
How much white balance variation is acceptable?
Rooms may legitimately differ. Keep neutral materials believable and avoid abrupt color shifts that come from processing rather than the property’s light.
Can AI enhancement remove clutter?
That is a separate object-removal task with different review and disclosure risks. Keep enhancement and decluttering scopes distinct.
Build a natural baseline faster
Use Curbora for an exposure, white-balance, and window-recovery candidate, then apply listing-level QC before export. Try the real estate photo editor.